


Table of contents
🙋♂️Hey there, today we are going to see how to add Twitter auth with Supabase in a Next.js app. Let's get started

What we are going to build
Setup
Creating a new Next.js app
I am going to use tailwind CSS for the basic styling, you can use any framework you want-
npx create-next-app -e with-tailwindcss next-supabase-twitter
Making a Supabase project
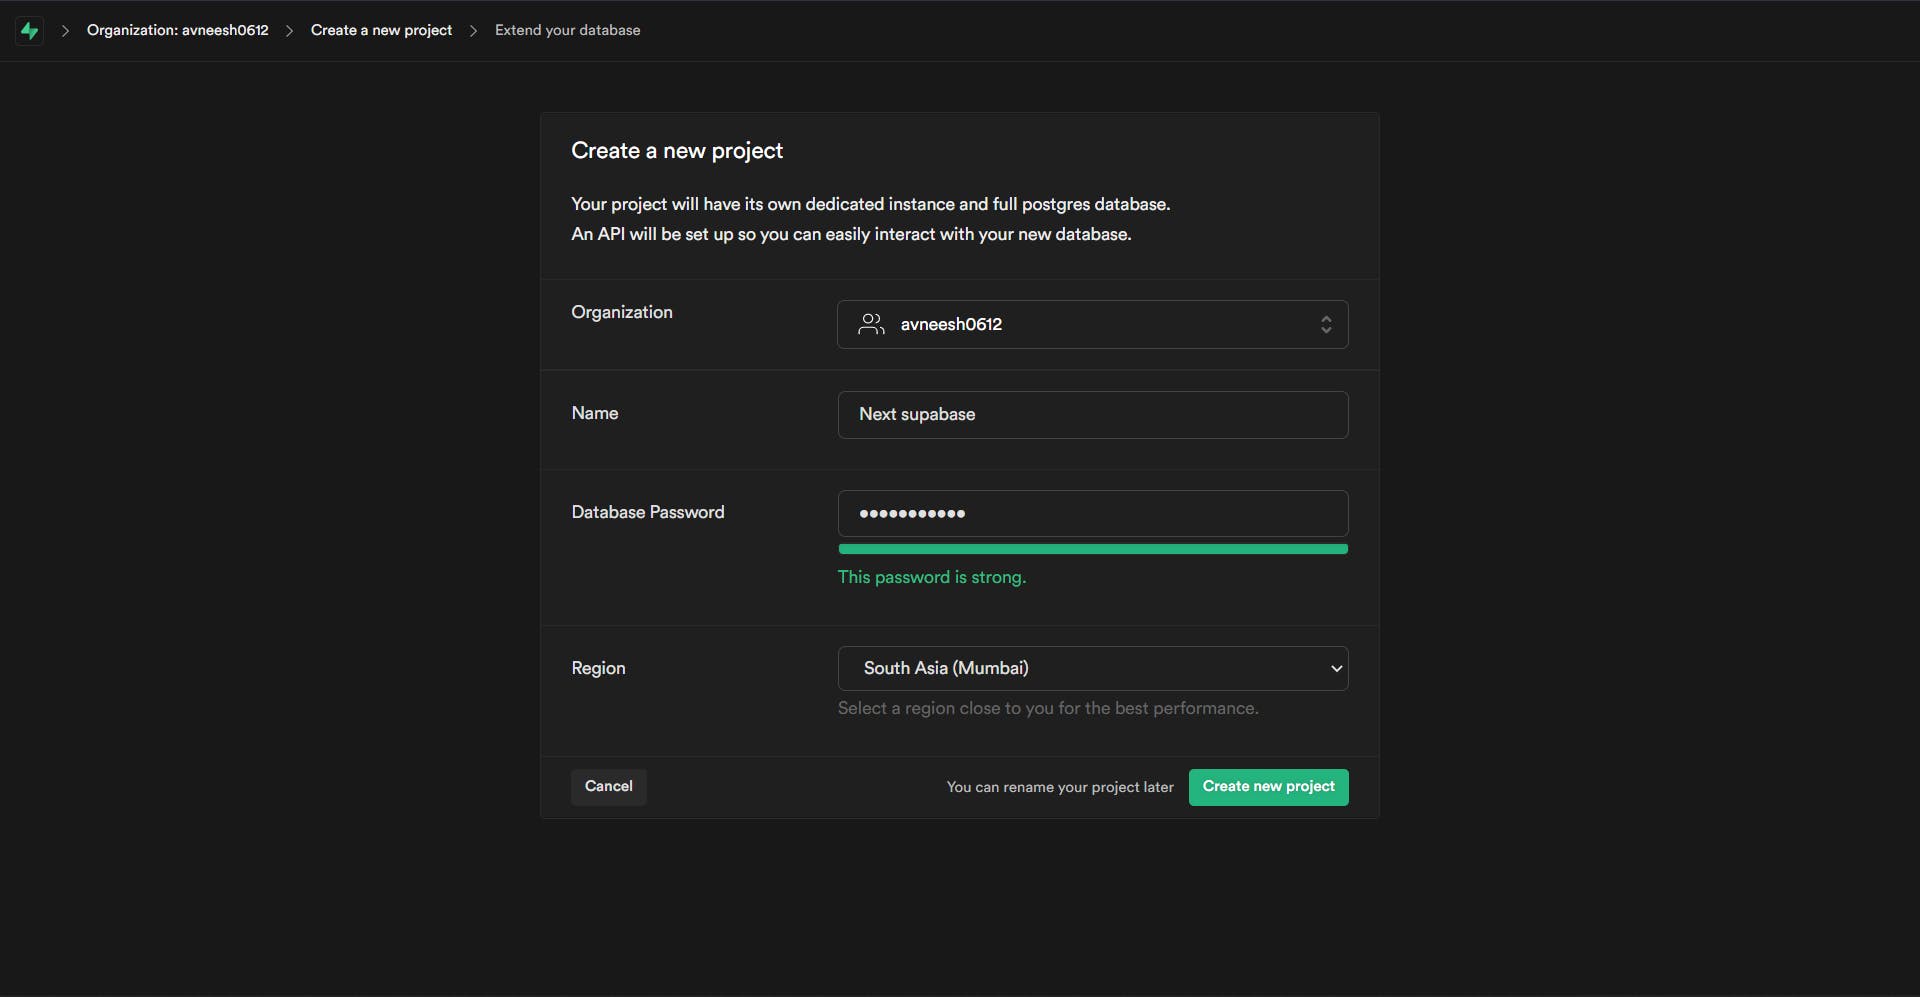
Go to Supabase. Click on New Project, it will show you a form with some inputs so fill in the details
Now we need to wait for a few minutes for everything to set up. In the meanwhile, we can set up our Twitter app.
Creating a Twitter app
Go to Twitter developers, if you don't have a developer account then sign up for one otherwise login.
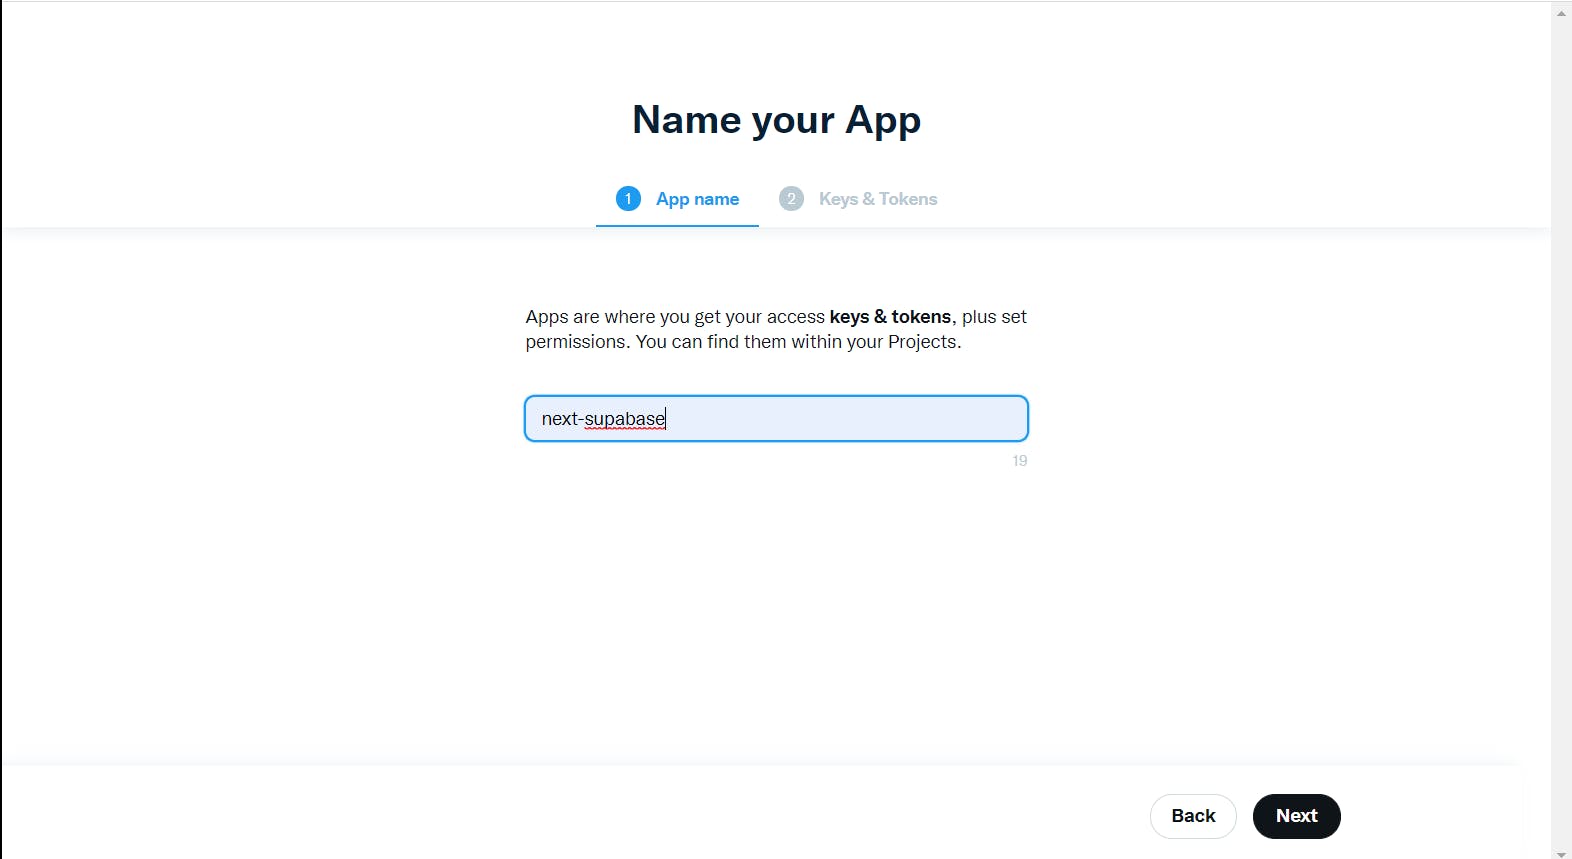
After signing in click on Create App. Then, give your app a name
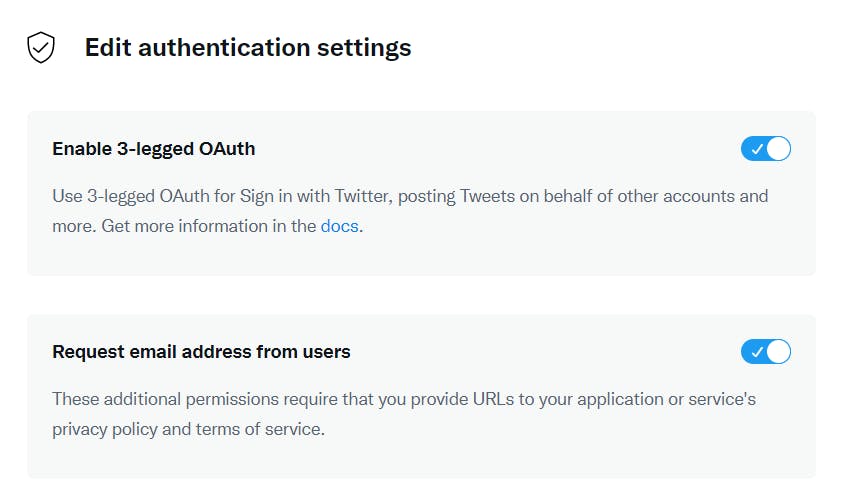
Click the edit button in Authentication settings. Now we need to enable 3-legged OAuth. So, enable it as well as the Request email address from users option
In callback URL add-
<supabase_url>/auth/v1/callback
You need to replace with the URL from your supabase project. Follow these steps to get it-
- Click on the settings icon
- Select the API tab
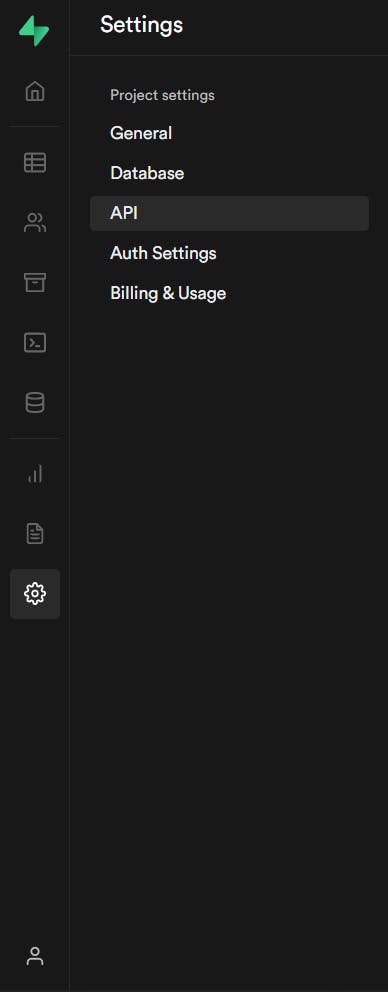
- Now copy the URL
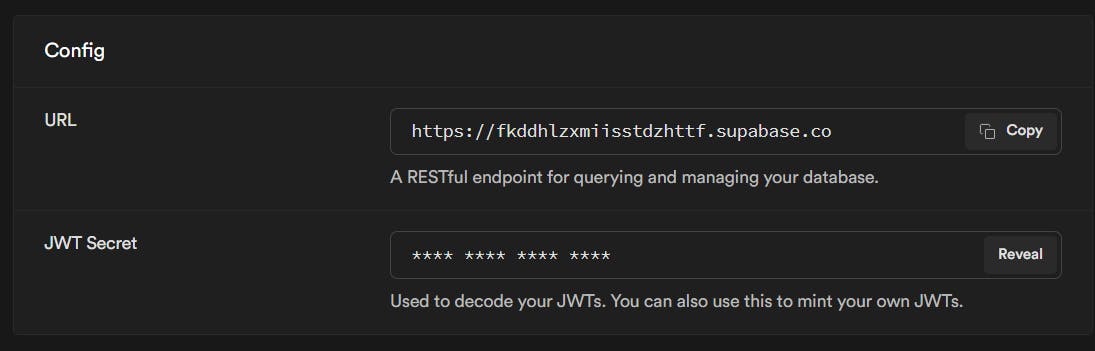
You can paste this URL in the callback URLs

Fill in the rest of the details in the form and hit save.
Enabling Twitter auth in supabase project
Click on the users icon in the sidebar, then go to settings. If you scroll down you will see an option called Twitter enabled, toggle it on. We now need to get the keys from our Twitter app.
So head back to the app and click on the keys and tokens tab. Regenerate the consumer keys and paste them into the supabase dashboard.

The coding part

Installing supabase package
npm i @supabase/supabase-js # npm

yarn add @supabase/supabase-js # yarn
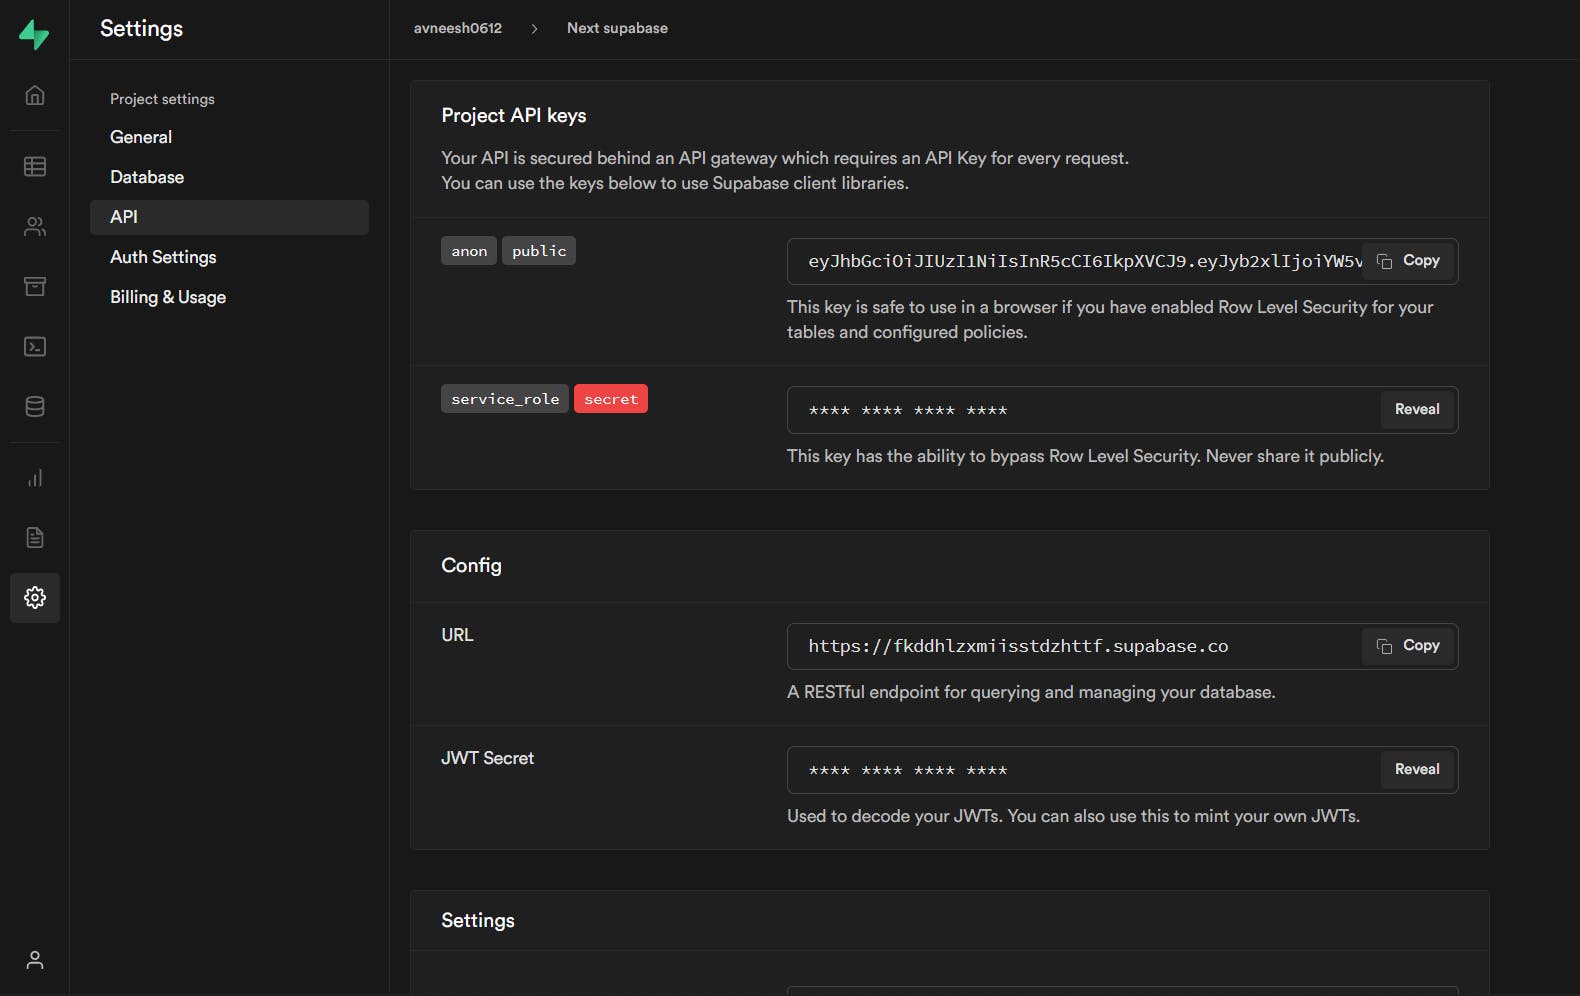
Setting up env variables
Create a new file .env.local in the root of your project and add the following variables-
NEXT_PUBLIC_SUPABASE_URL=<supabase_url>
NEXT_PUBLIC_SUPABASE_ANON_KEY=<anon_key>
You can get the values from the API tab in the project settings.
Initializing supabase
Create a folder utils and supabaseClient.js file inside of it.
Add the following in it-
import { createClient } from "@supabase/supabase-js";

const supabaseUrl = process.env.NEXT_PUBLIC_SUPABASE_URL;
const supabaseAnonKey = process.env.NEXT_PUBLIC_SUPABASE_ANON_KEY;

export const supabase = createClient(supabaseUrl, supabaseAnonKey);
This will take the environment variables and initialize Supabase for us.
Creating the signup button
Create a button with an onClick function-
<button
  onClick={signInWithTwitter}
  className="relative px-4 py-2 bg-[#1eb872] rounded-lg text-white mt-4"
>
  Twitter sign in
</button>
Creating the signup function
The signup function is pretty simple-
  async function signInWithTwitter() {
    await supabase.auth.signIn({
      provider: "twitter",
    });
  }
If you want to add auth with any other social provider you just need to change the provider's value there.
Let's try to sign in now.
It works 🥳. P.S I also styled the page a bit :P
Getting the user's data
Create a useState to store the data-
const [session, setSession] = useState(null);
Now create this useEffect which will update the session every time the auth session updates-
  useEffect(() => {
    setSession(supabase.auth.session());

    supabase.auth.onAuthStateChange((_event, session) => {
      setSession(session);
    });
  }, []);
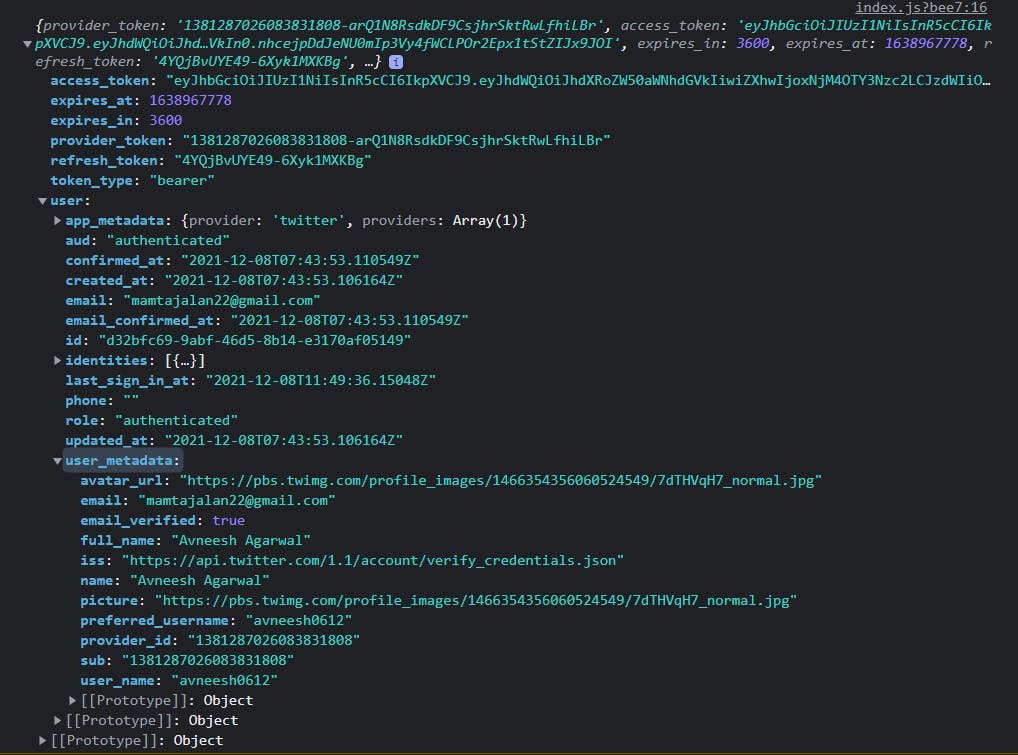
Let's console log the session to see what we get-
console.log(session);
Displaying user data and logout button if signed in
We need to create a ternary operator like this-
 <div className="flex flex-col items-center justify-center w-screen h-screen bg-[#D33943]">
      {session ? (
        <>
          <Image
            width={100}
            height={100}
            src={session.user.user_metadata.picture}
            className="rounded-full"
          />
          <h3 className="mt-3 text-lg text-white">
            Welcome {session?.user.user_metadata.full_name}
          </h3>
          <h3 className="mt-3 text-lg text-white">
            You are signed in as {session?.user.email}
          </h3>
          <button
            className="px-4 py-2 mt-3 text-black bg-white rounded-lg"
            onClick={() => supabase.auth.signOut()}
          >
            Sign out
          </button>
        </>
      ) : (
        <>
          <h1 className="text-3xl font-semibold text-white">
            How to add Twitter auth quickly with Supabase to your Next.js site
            ⚡
          </h1>

          <button
            onClick={signInWithTwitter}
            className="relative px-4 py-2 bg-[#1eb872] rounded-lg text-white mt-4"
          >
            Twitter sign in
          </button>
        </>
      )}
    </div>
Since I am using I also need to whitelist the domain. So, create a new file next.config.js and add in the following-
module.exports = {
  images: {
    domains: ["pbs.twimg.com"],
  },
};
You also need to restart the server to see the changes. Now our authentication system works perfectly 🥳🥳