


Introduction
In this guide, I am going to show you how to build an NFT collection where users can simply scan a QR code and purchase your NFT! We are going to use some cool tech like Candy machine for building an NFT collection, CandyPay for building the seamless QR code experience, and all this is going to happen on the Solana blockchain so everything is going to be super fast. You don't need any experience with Solana as I am going to show you how to install the tools needed and explain everything you need to know to get started! 🚀
What is CandyPay?
CandyPay is a tool that lets you create a headless mint experience for your Solana collection, which let users mint NFTs just by scanning a QR code, directly from their mobile wallets. You can reach out to CandyPay on Twitter.
What is Candy Machine?
The Candy Machine, or CM for short, is a Solana Program designed to reliably sell one NFT at a time. The Candy Machine program behaves like a real-world mechanical candy machine, where a person expects to put a coin in to the machine and get one item out of it.
Setup
Installing the CLI tools
Solana CLI
We are going to need the Solana CLI so install it using the steps here.
Metaplex (Installing Candy Machine CLI)
Metaplex is a Solana-powered protocol that allows for the creation and minting of non-fungible tokens, auctions, and visualizing NFTs in a standard way across wallets and applications, comprised of two core components: an on-chain program, and a self-hosted front-end web2 application.
- Cloning metaplex's git repo:
git clone -b v1.1.1 https://github.com/metaplex-foundation/metaplex.git
- Installing JavaScript SDK dependencies:
yarn install --cwd ~/metaplex/js/ --network-timeout 600000
This installation will take some time as it will install a lot of heavy dependencies. After they are installed you can test them by running:
ts-node ~/metaplex/js/packages/CLI/src/candy-machine-v2-CLI.ts --version
Configuring Solana CLI
Switching default network
We are going to work on devnet, so switch the network by running this command:
solana config set --url devnet
Generating a new keypair
We need to generate a new wallet that can be used to deploy our NFT collection and do some other stuff so, run this command:
solana-keygen new --outfile ~/.config/Solana/id.json
Setting the keypair
We need to globally configure this keypair so that Solana CLI will know which keypair to use while signing the transactions:
solana config set --keypair ~/.config/solana/id.json
Confirming that the keypair was set
To confirm that the key pair was set you can simply run the solana config get command and if there is a keypair, it will show you the path to it:
solana config get
Airdropping some $SOL
For making transactions on the blockchain, we need some $SOL to pay for the gas. The Solana CLI lets you airdrop some tokens so run this command:
solana airdrop 1
Creating Solana NFT Collection using Metaplex
We are now going to create an NFT collection which we will sell. So, create a new folder. You can call it anything you like! After creating the folder, open it in your favourite code editor. Let's now create another folder called assets. We will add the images and JSON metadata files to this folder. The images should be named as 0.png, 1.png, 2.png, etc. The JSON files should also be named in the same pattern and the file number will correspond to the image. Here is a sample JSON file-
{
  "name": "Green Star",
  "symbol": "STAR",
  "image": "0.png",
  "properties": {
    "files": [
      {
        "uri": "0.png",
        "type": "image/png"
      }
    ],
    "creators": [
      {
        "address": "2R4bHmSBHkHAskerTHE6GE1Fxbn31kaD5gHqpsPySVd7",
        "share": 100
      }
    ]
  }
}
Now, in the root of the folder create a new file named config.json. This will be the config data for our collection. Here is a sample for the config file-
{
  "price": 0.1,
  "number": 10,
  "gatekeeper": null,
  "solTreasuryAccount": "2R4bHmSBHkHAskerTHE6GE1Fxbn31kaD5gHqpsPySVd7",
  "splTokenAccount": null,
  "splToken": null,
  "goLiveDate": "16 July 2022 00:00:00 GMT",
  "endSettings": null,
  "whitelistMintSettings": null,
  "hiddenSettings": null,
  "storage": "arweave",
  "ipfsInfuraProjectId": null,
  "ipfsInfuraSecret": null,
  "awsS3Bucket": null,
  "noRetainAuthority": false,
  "noMutable": false
}
You need to edit the solTreasuryAccount, goLiveDate, number, and price fields.
Deploying the collection
Once you are done with all the config, run this command to deploy your collection:
ts-node ~/metaplex/js/packages/cli/src/candy-machine-v2-cli.ts upload -e devnet -k ~/.config/solana/id.json -cp config.json ./assets
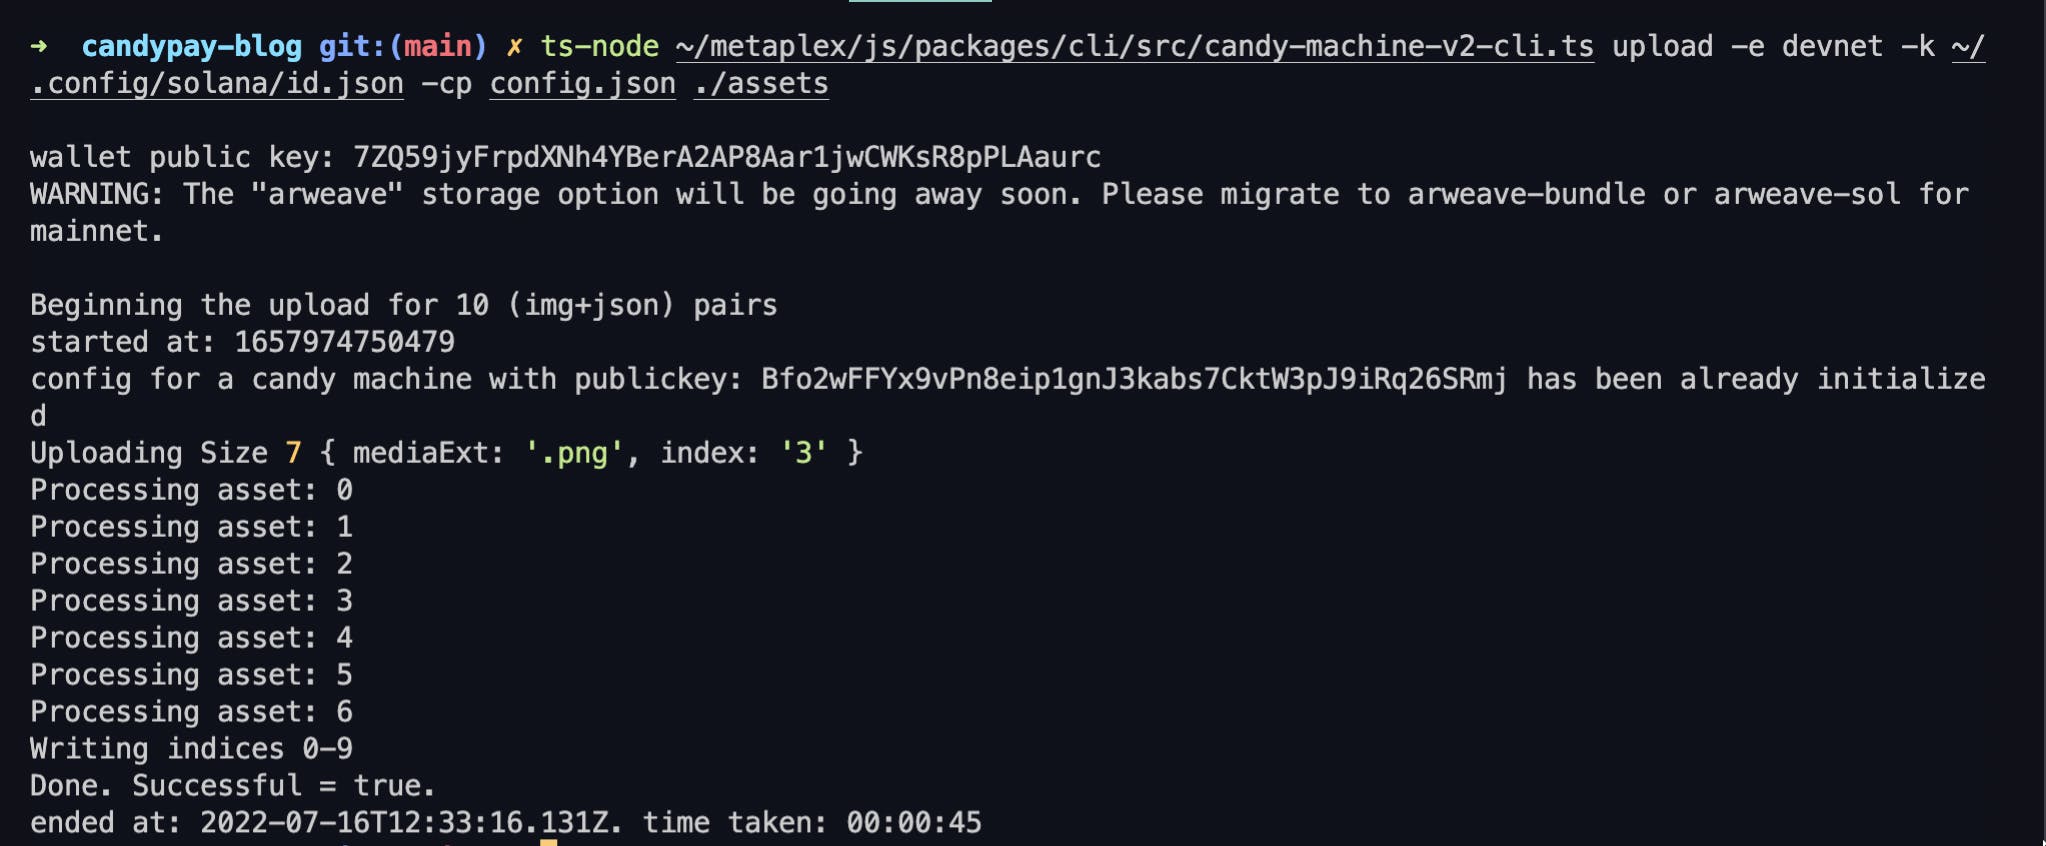
Once the NFT collection gets deployed, you will see a new .cache folder. It should have a devnet-temp.json file. This file contains data related to the NFT collection that has just been deployed. We are going to need the candyMachine ID inside the "program" object to mint these NFTs via CandyPay.
Creating our website with CandyPay and Next.js
We are going to create a simple website using CandyPay and Next.js which will let users scan a QR code and mint the amazing NFTs! There are 2 ways to implement this, using the CandyPay public API is comparatively easier but it is in private-beta so you would need to fill up a form to get a bearer token. You can fill out this form to get the API keys.
Setting up a new Next.js app
I am going to use create-next-app to set up a new Next.js app:
npx create-next-app solana-qr-blog --ts
This will create a new next app for us. Let's now install the packages that we are going to use:
npm i  @candypay/sdk @solana/pay @solana/web3.js axios # npm

yarn add @candypay/sdk @solana/pay @solana/web3.js axios # yarn
Using the public CandyPay API
I will first show you how to create this website by using the CandyPay Public API. At the time of writing this, you need api keys and you can get them by filling out the form linked above. If you don't want to wait or build a custom api then you can skip to the next section!
Building an API to create the QR
Since the API keys shouldn't be exposed on the client side, I am going to create a new file in pages/api called get-qr.ts, this will return solanaUrl (This is a solana protocoal encoded URL which is used by the Solana mobile wallets to send requests to CandyPay's server. More about it over here -- docs.candypay.fun/#how-does-candypay-work) to the frontend that can be used for creating a QR code:
import axios from "axios";
import type { NextApiRequest, NextApiResponse } from "next";

const handler = async (req: NextApiRequest, res: NextApiResponse) => {
  const response = await axios.post(
    "https://public-api.candypay.fun/api/v1/generate",
    {
      candyMachineID: "Bfo2wFFYx9vPn8eip1gnJ3kabs7CktW3pJ9iRq26SRmj",
      network: "devnet",
      message: "Thanks for minting the NFTs!",
    },
    {
      headers: {
        Authorization: `Bearer ${process.env.BEARER_TOKEN}`,
      },
    }
  );

  return res.status(200).json(response.data);
};

export default handler;
Update the candyMachineID here with your candyMachineId and you can update the message as well. As you can see I am using env variables for the BEARER_TOKEN. So, create a new .env.local file and add this variable. The value will be the API keys that you got from CandyPay's public API!
The /generate route of CandyPay's public API has much more parameters than just candyMachineID and message. Here is the list of all the parameters which is accepted by the /generate route -- docs.candypay.fun/routes/generate-qr-code#r..
Calling the API from the frontend
Create a new function called generateQRCode and it will be making a simple API call to the api that we just created and we will use @solana/pay package's createQR function to render the QR code:
  const generateQRCode = async () => {
    const response = await axios.get("/api/get-qr");

    const qr = createQR(response.data.solanaURL, 512, "transparent");
    if (qrRef.current) {
      qrRef.current.innerHTML = "";
      qr.append(qrRef.current);
    }
  };
We will use a ref to store the QR in a "ref" so create a new ref using the useRef hook:
const qrRef = useRef<HTMLDivElement>(null);
Finally, call the function in a useEffect and render the QR code:
  useEffect(() => {
    generateQRCode();
  }, []);
  <div className={styles.container}>
      <div ref={qrRef} />
    </div>
You will now be able to see a QR code in the centre of your screen!
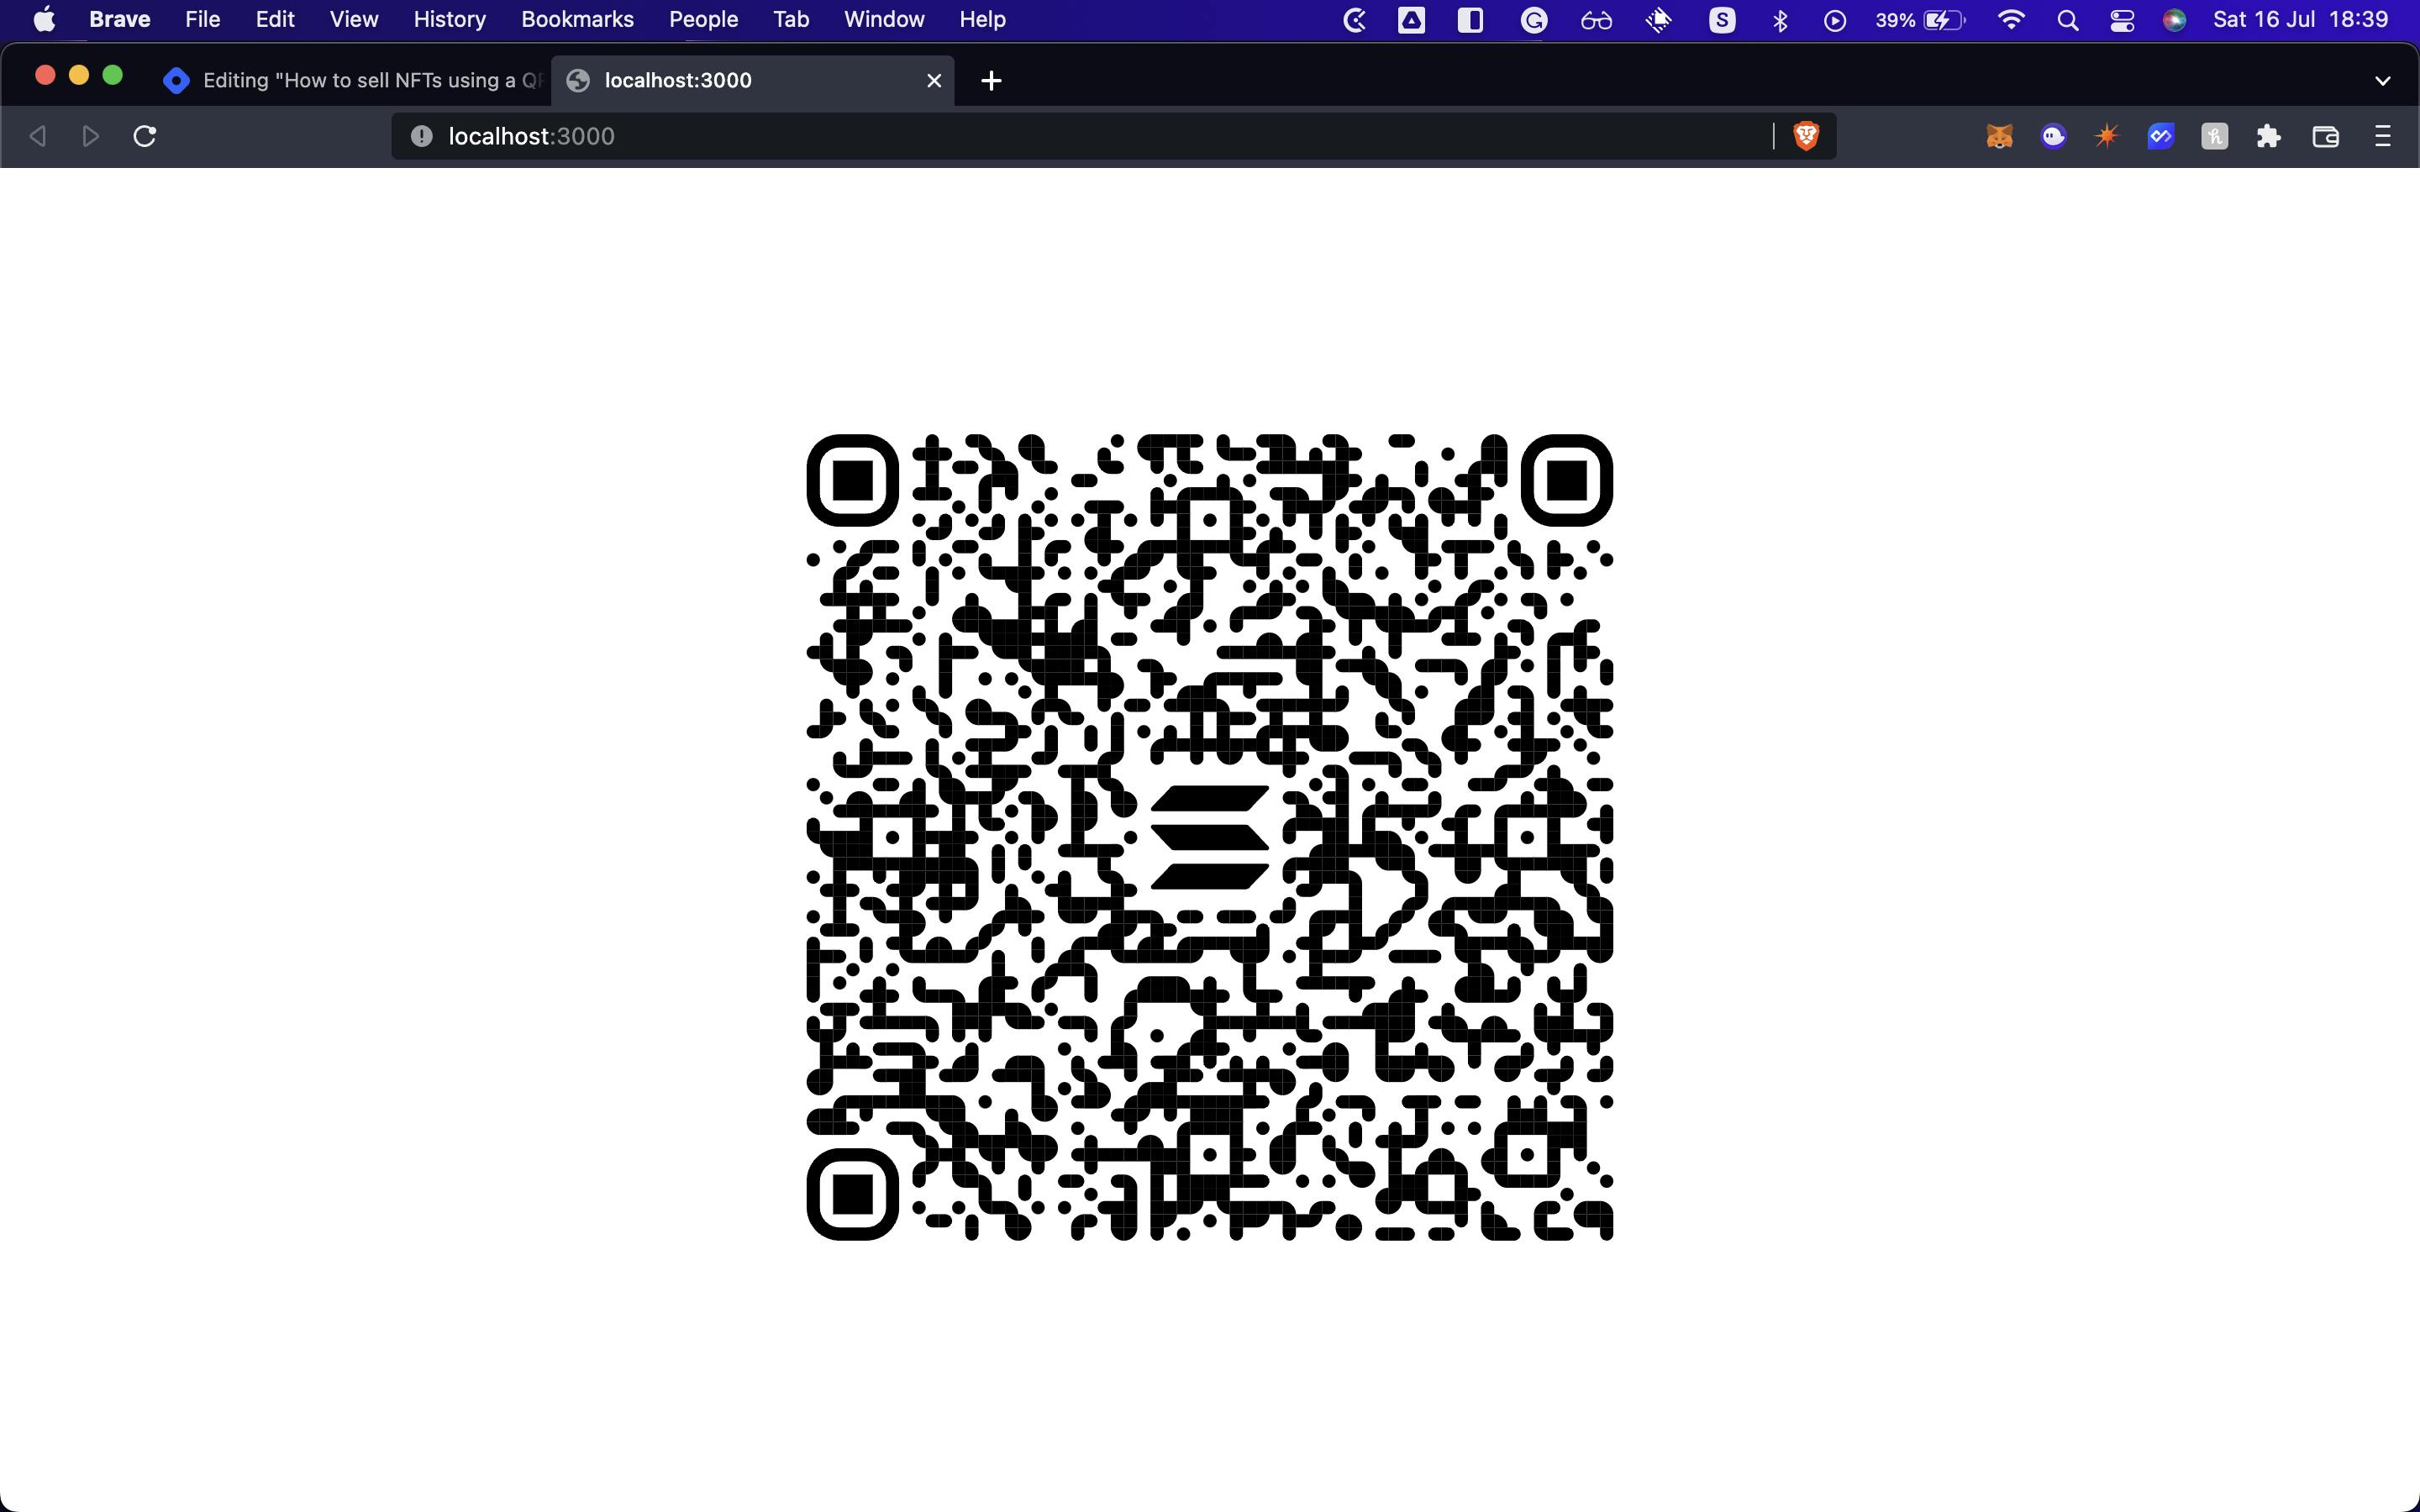
You can install Solflare mobile app and scan this QR code to mint your NFT! It was as simple as this 🎉
Using CandyPay's SDK
Creating the frontend
We first need to create the URL params which would be encoded into the solana protocal URL, so add this object at the top of the page:
const urlParams: TransactionRequestURLFields = {
  link: new URL(`${process.env.NEXT_PUBLIC_URL}/api/mint`),
  label: "CandyPay demo",
  message: "https://www.downloadclipart.net/large/candy-png-free-download.png",
};
Here as you can see we need to add three things - a URL, a label and a message. In the URL, I have added an env variable called "NEXT_PUBLIC_URL" so you can add your domain and change it easily based on different environments. And as you can see it is an API route, so we will create the mint API in just a while! In the label, I have added a simple text and the message is an image of candy in my case, feel free to change it.
Create a ref for storing the Solana QR code using the useRef hook:
const qrRef = useRef<HTMLDivElement>(null);
Now inside a useEffect, we will generate the QR code:
  useEffect(() => {
    if (typeof window !== "undefined") {
      const solanaUrl = encodeURL(urlParams);
      const qr = createQR(solanaUrl, 512, "transparent");
      if (qrRef.current) {
        qrRef.current.innerHTML = "";
        qr.append(qrRef.current);
      }
    }
  }, []);
We are using the createQR function from Solana Pay to generate a QR code from our metadata. You can customise the parameters here as you wish. Now let's finally render it:
 <div className={styles.container}>
      <div ref={qrRef} />
    </div>
You will now be able to see a QR code in the centre of your screen!
Creating the API
Create a new file in pages/api called mint.ts and add the following:
import type { NextApiRequest, NextApiResponse } from "next";

const handler = async (req: NextApiRequest, res: NextApiResponse) => {
  if (req.method === "GET") {
    return res.status(200).json({
      label: "CandyPay Test",
      icon: "https://www.downloadclipart.net/large/candy-png-free-download.png",
    });
  }
};

export default handler;
This is the icon and label that will be showed to the user when they scan it. This is under a get response. We also need to create another if function for the post method:
if (req.method === "POST") {
    const { account } = req.body;

    try {
      const wallet = new PublicKey(account);

      const ixnArray = await candypay.mint(
        "devnet",
        "Bfo2wFFYx9vPn8eip1gnJ3kabs7CktW3pJ9iRq26SRmj",
        wallet
      );

      const transaction = new Transaction().add(...ixnArray.instructions);
      const connection = new Connection("https://api.devnet.solana.com");

      const { blockhash } = await connection.getRecentBlockhash();
      transaction.recentBlockhash = blockhash;
      transaction.feePayer = wallet;

      transaction.partialSign(ixnArray["mint"]);
      const serializeTransaction = transaction.serialize({
        requireAllSignatures: false,
      });

      const base64 = serializeTransaction.toString("base64");
      const message = "CandyPay Test";

      return res.status(200).json({
        transaction: base64,
        message,
      });
    } catch (error) {
      return res.status(500).json({
        error,
      });
    }
  }
Here we are receiving the account from the QR code that has been scanned and we are using it as an PublicKey so we can send req to the correct user. Then we are using candypay to mint the NFT. It includes some data like the network, the candyMachineId and the user who you want to mint the NFT. Make sure to update your candyMachineID!
We are now ready to use this app and sell our NFTs! 🙌
This QR code can't be used in localhost as it uses http and Solana Pay requires you to use https for security reasons. So you can test it out with ngrok or just deploy it using vercel or any hosting service you like! Once you have done this you can download the Solflare mobile app and scan this QR code to mint your NFT! It was as simple as this 🎉
Here is a brief description on how does this entire stuff actually work 👀 -
Solflare would first decode the solana protocol encoded URL from the QR code. It would then send a GET request to that decoded URL to fetch the metadata (label and icon). After fetching the metadata, it would send a POST request to the same decoded URL along with the user's public key in request body. Our custom API would then respond with a serialized transaction which would then be decoded by Solflare and simulates the transaction to the user. More about it over here -- docs.candypay.fun/#how-does-candypay-work
Conclusion
Credits
Huge shout out to Mukesh (Core backend engineer of the CandyPay team) for helping me out with Solana and CandyPay!