


Introduction
In this guide, we are going to see how to use RainbowKit with thirdweb! I am going to create a Next.js app and show how the users can connect their wallet with the amazing UX and UI of RainbowKit and then claim an NFT from an NFT drop that will be created using thirdweb! Let's get started
What is RainbowKit?
RainbowKit is a React library that allows a great UI and UX to connect to wallets on the ETH network as well as some other L2s with just a few lines of code!
What is thirdweb?
thirdweb is a platform that lets you deploy smart contracts without having to know Solidity, you can do it by using TypeScript, Python or Go or even without writing any code.
Setup
Creating a Next.js App
I am going to use Next.js for this particular demo but you can also go with react! So run this command to start up a new Next.js app with ts:
npx create-next-app thirdweb-rainbow --ts
Installing the required dependencies
We are going to need some packages for using RainbowKit and thirdweb so let's install them:
npm i @rainbow-me/rainbowkit @thirdweb-dev/react @thirdweb-dev/sdk ethers wagmi # npm

yarn add @rainbow-me/rainbowkit @thirdweb-dev/react @thirdweb-dev/sdk ethers wagmi # yarn
Adding RainbowKit Connect Wallet Button
To use the RainbowKit connect button we first need to wrap our app in Wagmi and Rainbow kit provider like this:
 <WagmiConfig client={wagmiClient}>
      <RainbowKitProvider chains={chains}>
        <Component {...pageProps} />
      </RainbowKitProvider>
    </WagmiConfig>
And as you can see we need to pass some things like wagmiClient and chains, so add the following:
const { chains, provider } = configureChains(
  [chain.polygonMumbai],
  [
    jsonRpcProvider({
      rpc: (chain) =>
        chain.id === ChainId.Mumbai
          ? {
              http: `https://mumbai.rpc.thirdweb.com`,
            }
          : null,
    }),
  ]
);

const { connectors } = getDefaultWallets({
  appName: "My RainbowKit App",
  chains,
});

const wagmiClient = createClient({
  autoConnect: true,
  connectors,
  provider,
});
You need to edit your chain from Mumbai to the chain that you want to use. We are using the thirdweb RPC here, so if you change the chain you need to use the respective RPC as well. You can get details of all RPCs here.
If you want to customize the theme of the button just pass theme={darkTheme()} in the RainbowKitProvider and import darkTheme from rainbowkit:
import {
  darkTheme,
  getDefaultWallets,
  RainbowKitProvider,
} from "@rainbow-me/rainbowkit";
Now let's add the connect button! Go to pages/index.tsx and clear out everything in the container div and add a ConnectButton component like this:
<ConnectButton />
You also need to import it from rainbow kit like this:
import { ConnectButton } from "@rainbow-me/rainbowkit";
Adding thirdweb
Creating a test drop
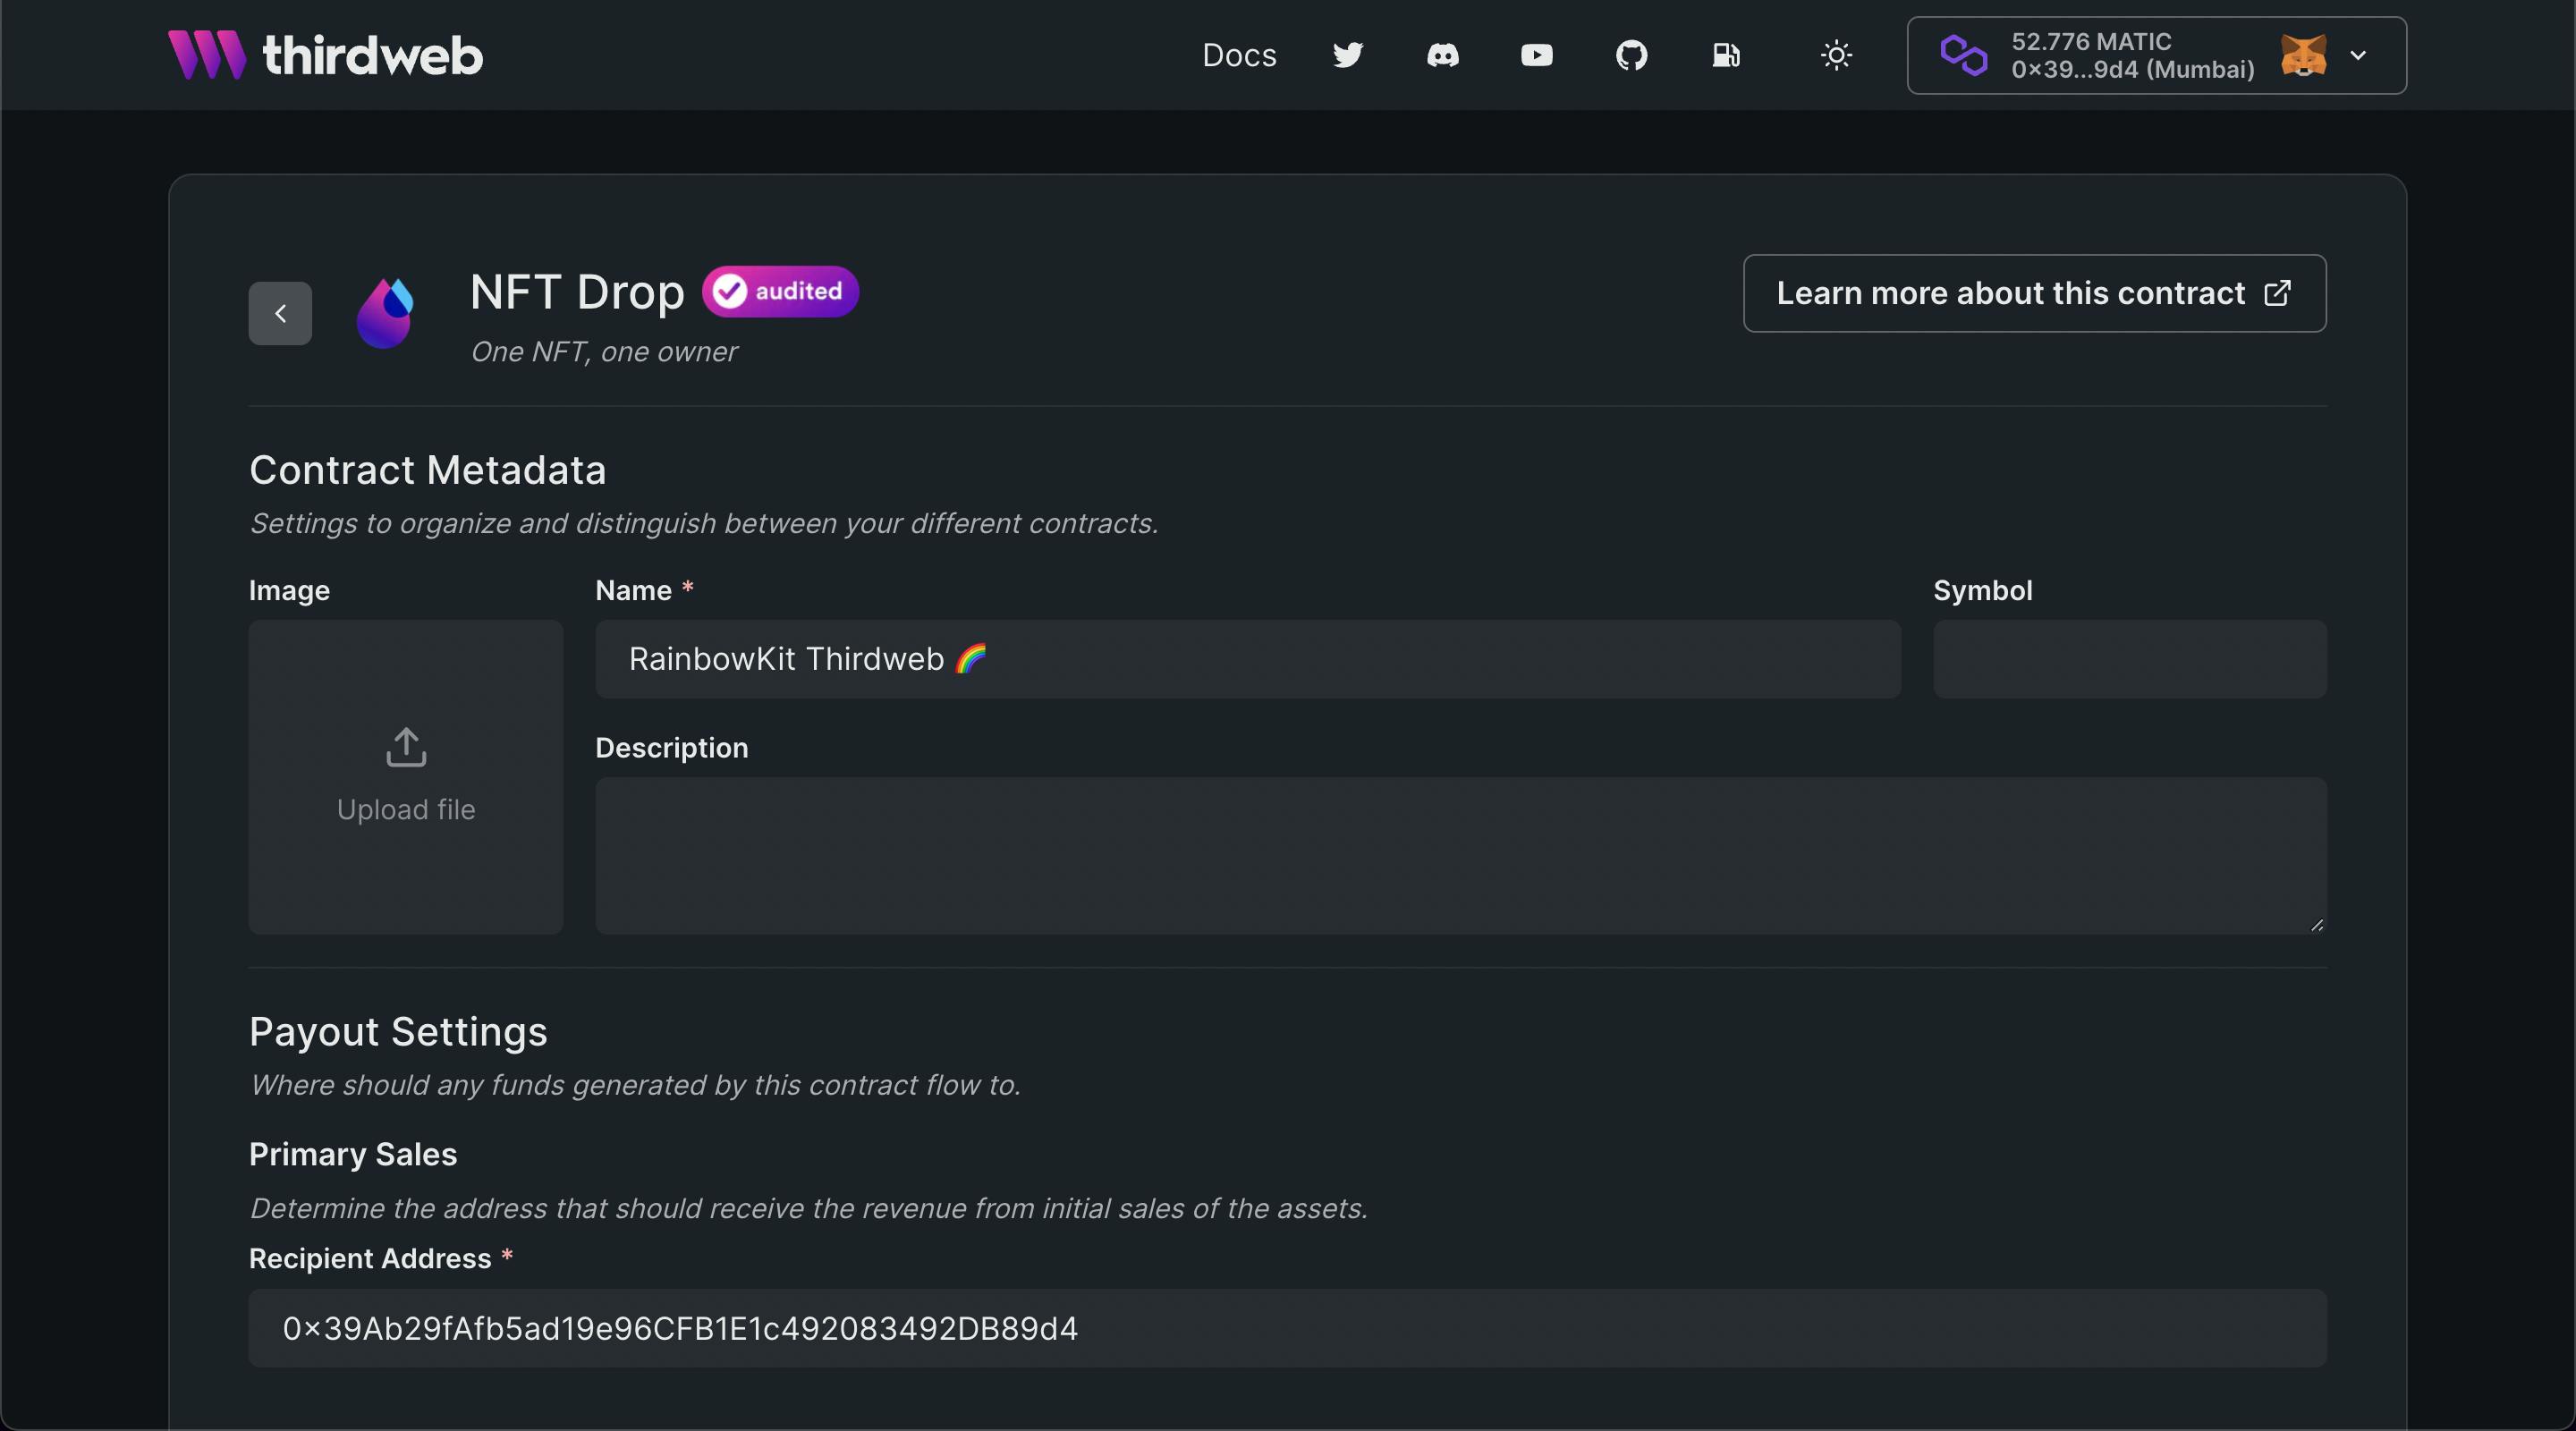
We also need to create an NFT drop contract where all the passes will live. So, go to the thirdweb dashboard and create an NFT drop!
Now, we need to add some NFTs so that we can claim and test it out! You can add a few of them manually or just use batch upload. I am going to use batch upload as it is faster
Let's batch upload some NFTs for the users to mint! I am going to use the pokemon batch upload example.
Click on batch upload and upload the images and the CSV/JSON file.
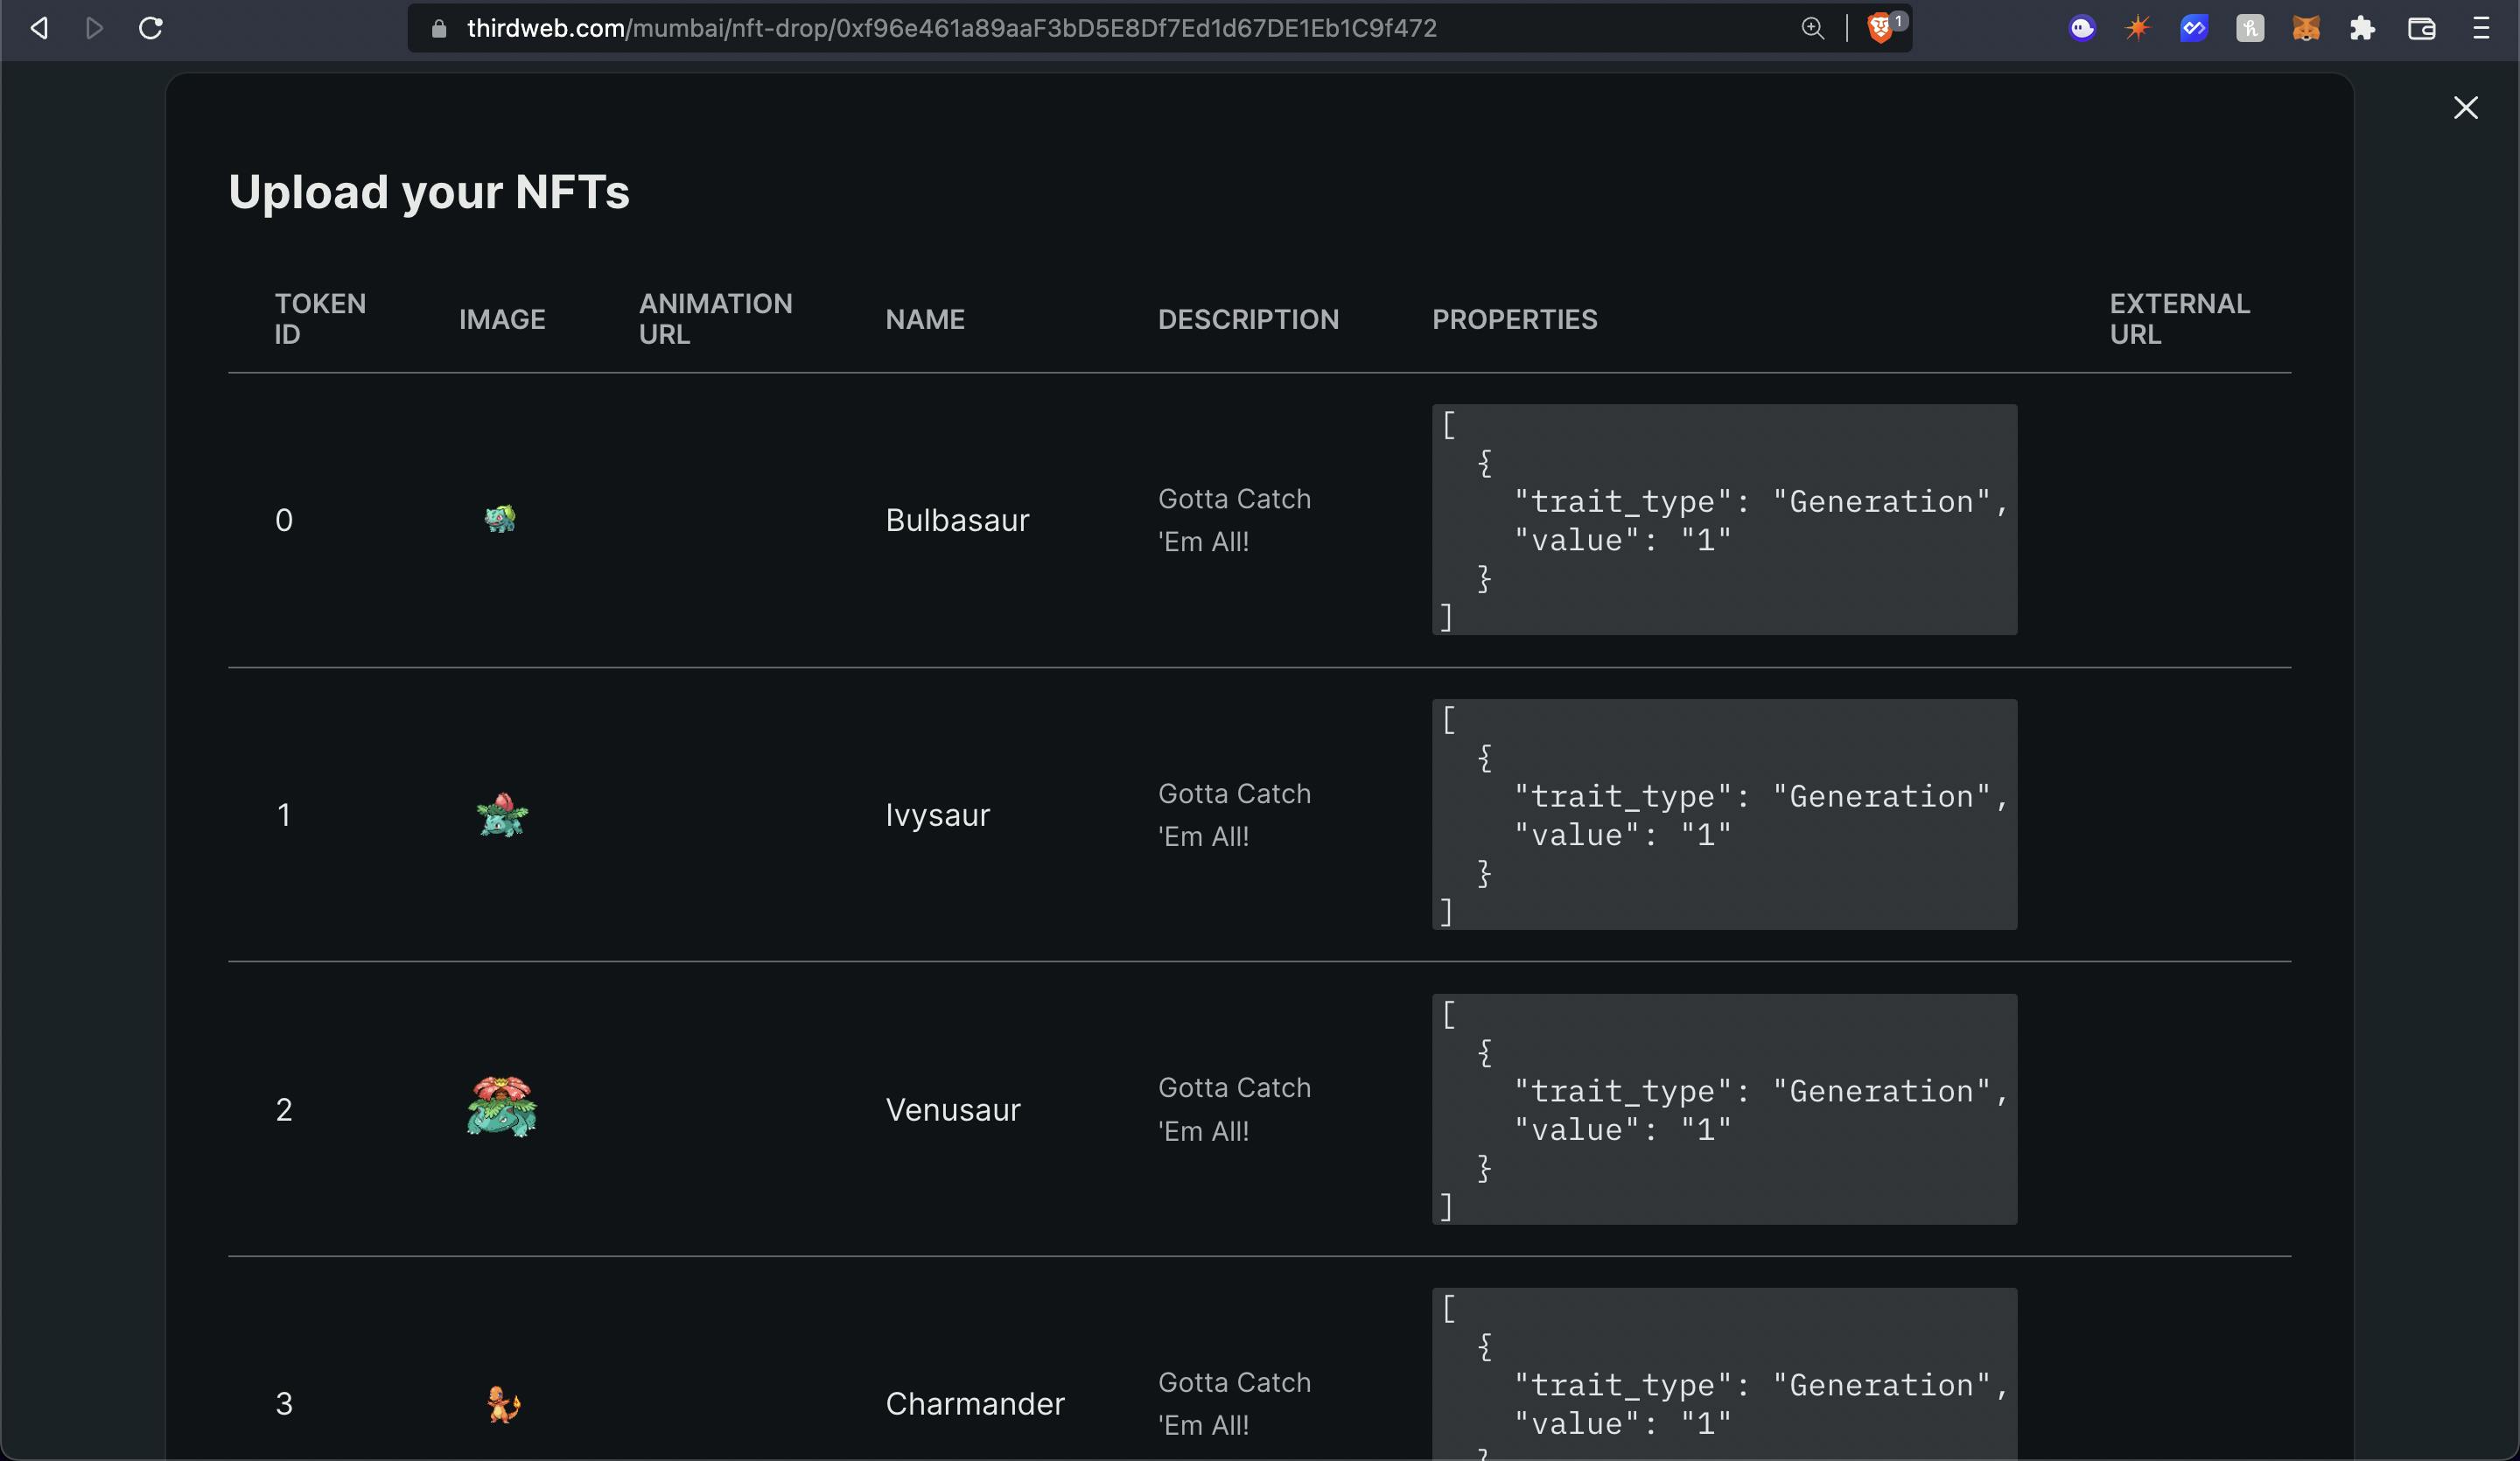
Once they are uploaded you will be able to see the NFTs! To learn more about batch upload check out this guide.
Fill out the details and deploy the contract!
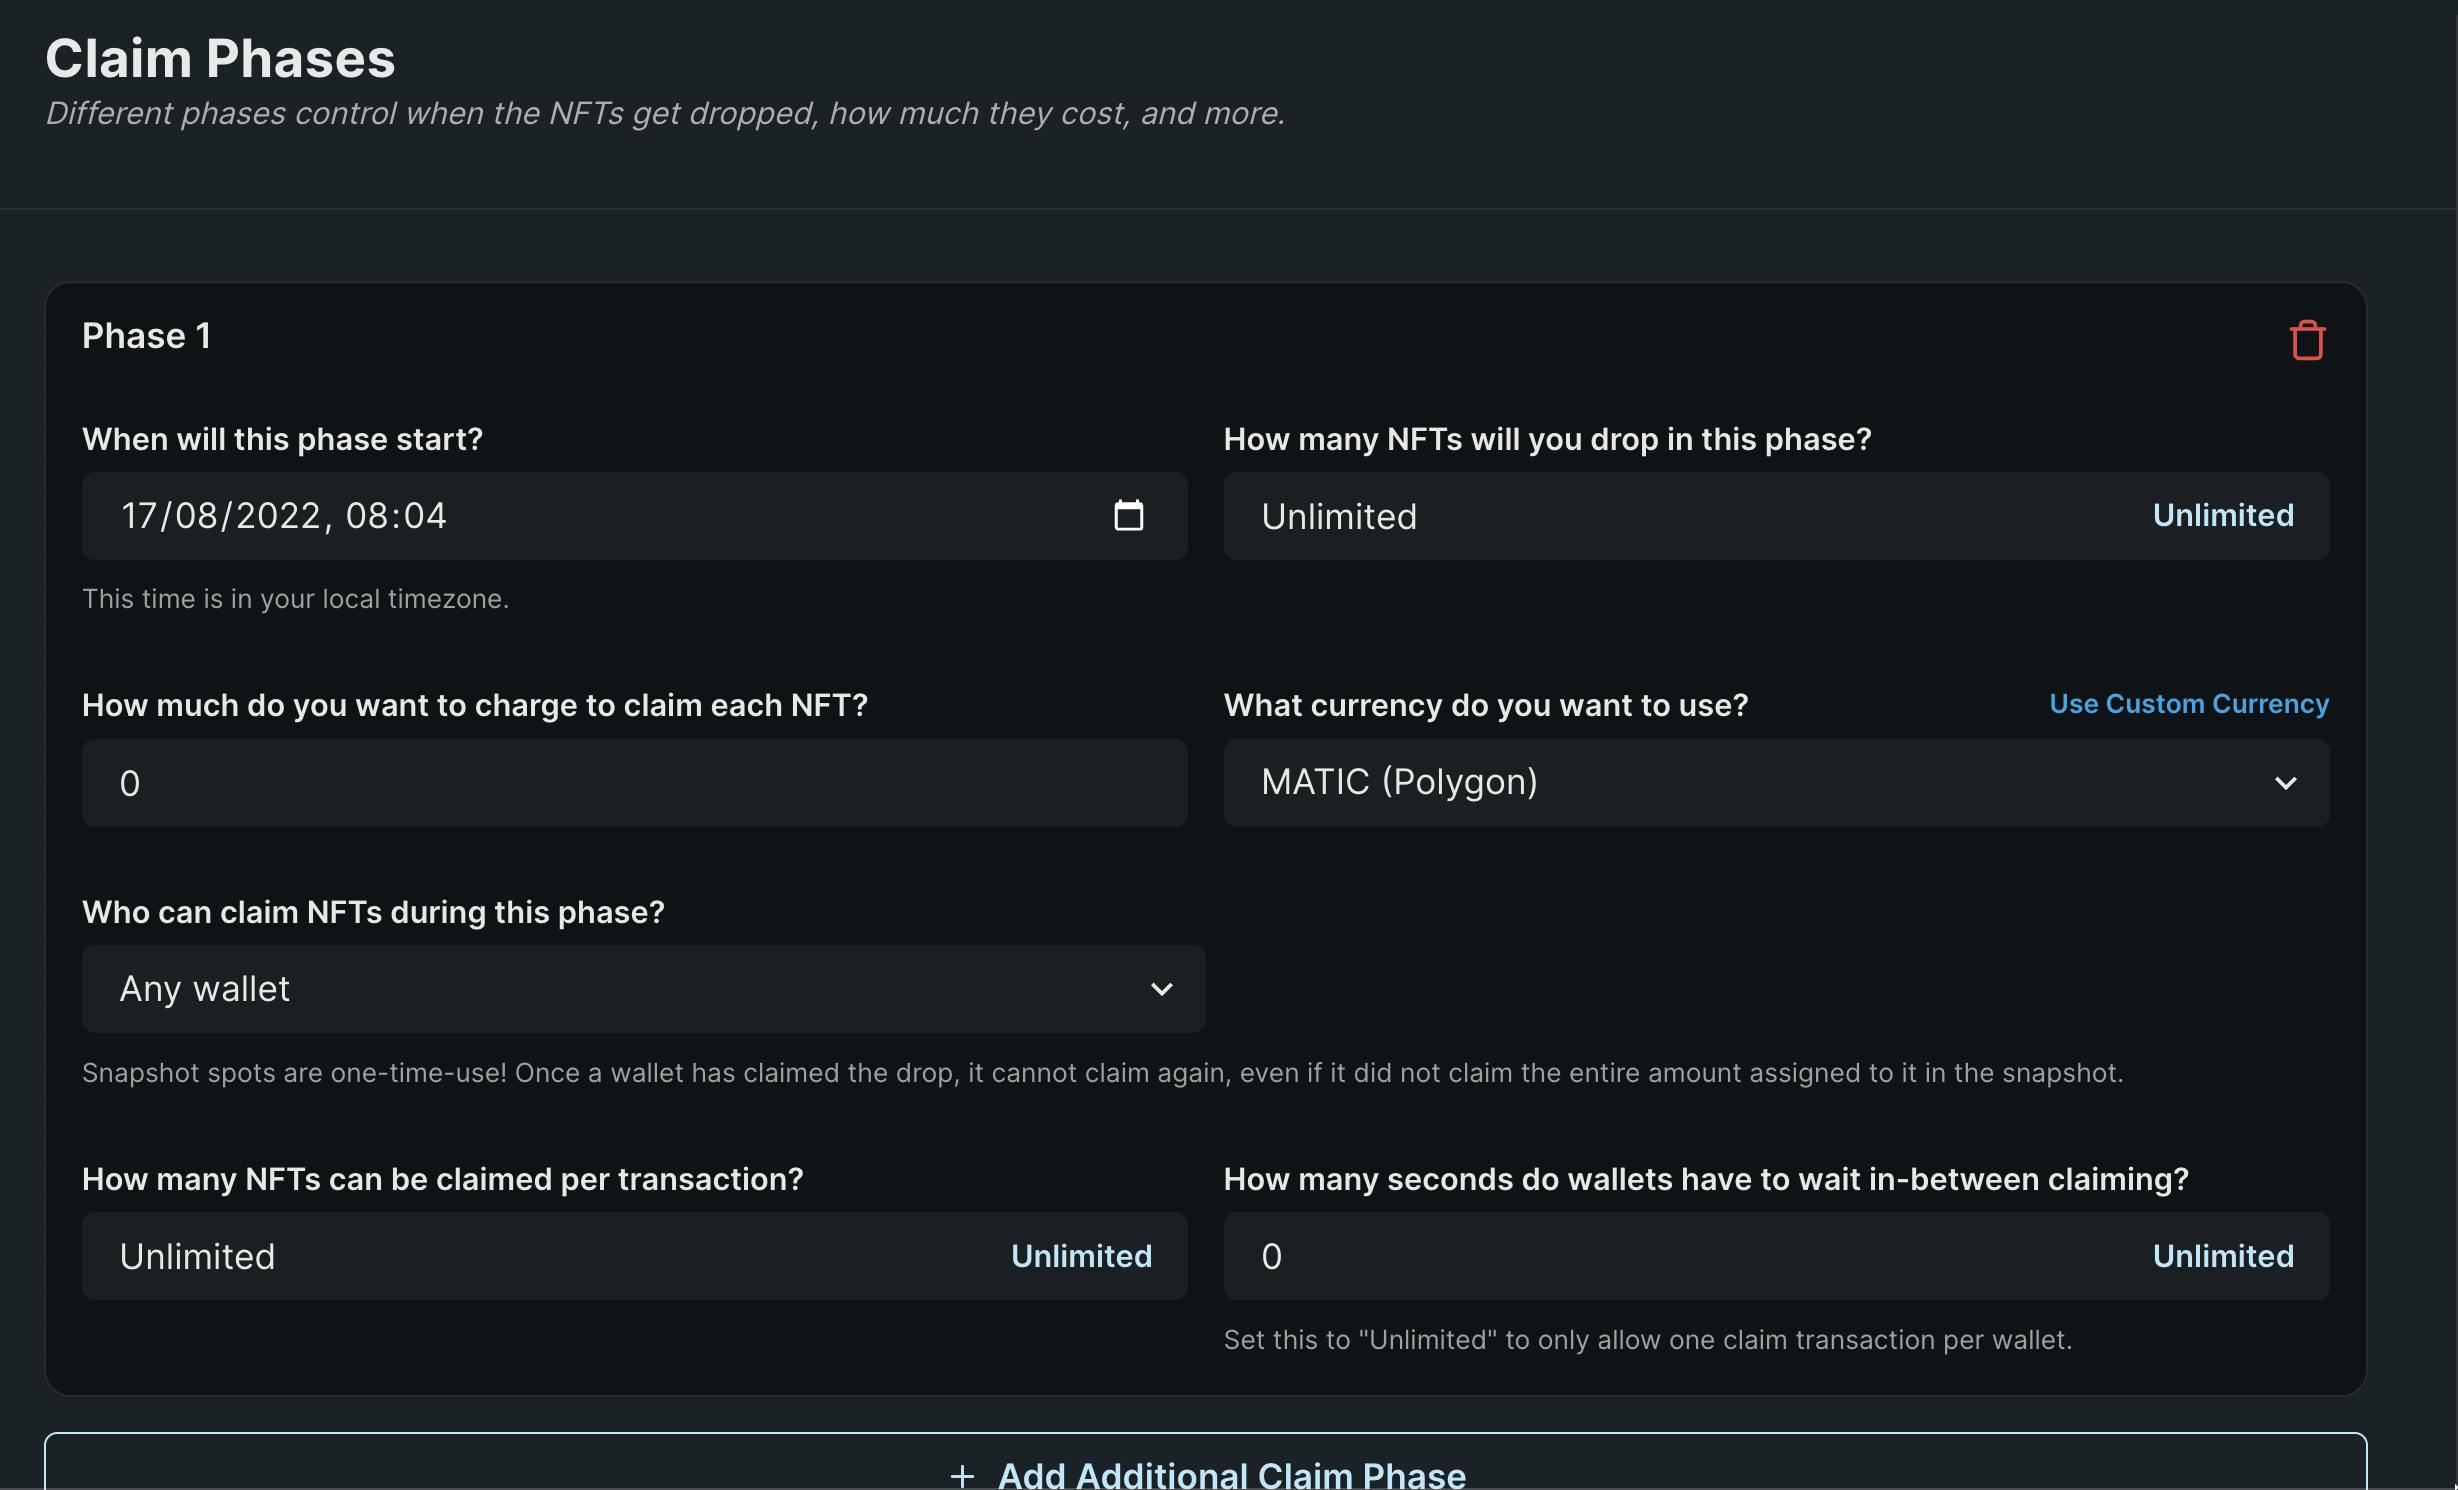
Setting claim phases
Once you have uploaded your nfts, go to the claim phase and add a claim phase with the values that suit your requirements
Create a claim button
To use thirdweb in our app, we need to wrap our app in the ThirdwebProvider as well. I am going to create a custom component which uses the ThirdwebSdk with some props:
function ThirdwebProvider({
  wagmiClient,
  children,
}: {
  wagmiClient: any;
  children: React.ReactNode;
}) {
  const { data: signer } = useSigner();

  return (
    <ThirdwebSDKProvider
      activeChain={ChainId.Mumbai}
      signer={signer as any}
      queryClient={wagmiClient.queryClient as any}
    >
      {children}
    </ThirdwebSDKProvider>
  );
}
As you can see we are using a custom signer here so we need to import that as well:
import {
    chain,
    configureChains,
    createClient,
    useSigner,
    WagmiConfig,
} from 'wagmi';
Finally, wrap our app in this provider as well:
<WagmiConfig client={wagmiClient}>
  <RainbowKitProvider chains={chains} theme={darkTheme()}>
    <ThirdwebProvider wagmiClient={wagmiClient}>
      <Component {...pageProps} />
    </ThirdwebProvider>
  </RainbowKitProvider>
</WagmiConfig>
Here is what the final _app.tsx file should look like:
import {
  darkTheme,
  getDefaultWallets,
  RainbowKitProvider,
} from "@rainbow-me/rainbowkit";
import "@rainbow-me/rainbowkit/styles.css";
import { ChainId, ThirdwebSDKProvider } from "@thirdweb-dev/react";
import type { AppProps } from "next/app";
import {
  chain,
  configureChains,
  createClient,
  useSigner,
  WagmiConfig,
} from "wagmi";
import { jsonRpcProvider } from "wagmi/providers/jsonRpc";

import "../styles/globals.css";

const { chains, provider } = configureChains(
  [chain.polygonMumbai],
  [
    jsonRpcProvider({
      rpc: (chain) =>
        chain.id === ChainId.Mumbai
          ? {
              http: `https://mumbai.rpc.thirdweb.com`,
            }
          : null,
    }),
  ]
);

const { connectors } = getDefaultWallets({
  appName: "My RainbowKit App",
  chains,
});

const wagmiClient = createClient({
  autoConnect: true,
  connectors,
  provider,
});

function ThirdwebProvider({
  wagmiClient,
  children,
}: {
  wagmiClient: any;
  children: React.ReactNode;
}) {
  const { data: signer } = useSigner();

  return (
    <ThirdwebSDKProvider
      activeChain={ChainId.Mumbai}
      signer={signer as any}
      queryClient={wagmiClient.queryClient as any}
    >
      {children}
    </ThirdwebSDKProvider>
  );
}

function MyApp({ Component, pageProps }: AppProps) {
  return (
    <WagmiConfig client={wagmiClient}>
      <RainbowKitProvider chains={chains} theme={darkTheme()}>
        <ThirdwebProvider wagmiClient={wagmiClient}>
          <Component {...pageProps} />
        </ThirdwebProvider>
      </RainbowKitProvider>
    </WagmiConfig>
  );
}

export default MyApp;
Now that we have thirdweb configured, let's add a button to claim these NFTs!
In pages/index.tsx add the following 2 hooks:
  const { data: contract } = useContract(
    "0xf96e461a89aaF3bD5E8Df7Ed1d67DE1Eb1C9f472",
    "nft-drop"
  );
  const { address, status } = useAccount();
Update the useContract hook with your contract address and import the hooks:
import { useContract } from "@thirdweb-dev/react";
import { useAccount } from "wagmi";
Below the ConnectButton now let's add a button if the user is signed and a text if isn't:
  {address ? (
    <button onClick={claim}>Claim</button>
  ) : (
    <p>Please connect your wallet</p>
  )}
As you can see we are using a claim function so let's create that pretty simple function:
  const claim = async () => {
    try {
      if (contract) {
        await contract.claim(1);
      }
    } catch (e) {
      console.error(e);
    }
  };
Now our app works fine! 🎉
Conclusion
Hope you learned how to make an amazing wallet connect button with rainbowkit and integrate it with thirdweb to create an NFT drop and allow users to claim it!